8 steps, layer by layer solution to the Rubik's Cube
An overview
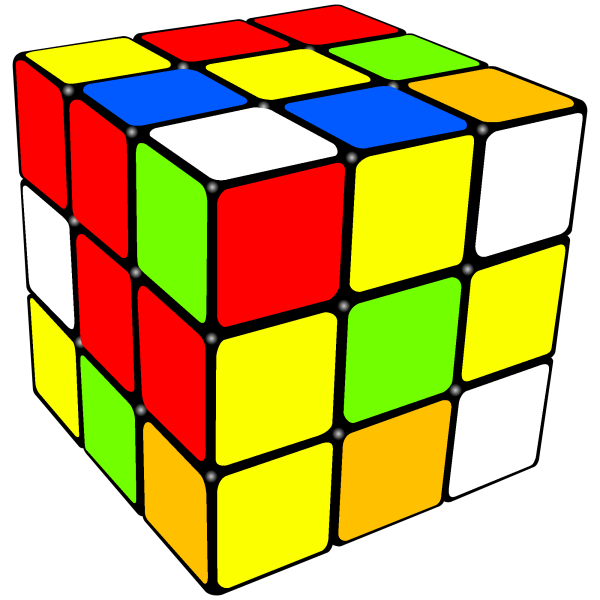
a scrambled Rubik's Cube
In this visual guide on how to solve a Rubix Cube, written by the Singapore Rubik's Cube Champion, we will be using a method known as the layer-by-layer method. A Rubix Cube contains 3 layers and we will be solving them 1 by 1.
Step 1-3 are meant to solve the first layer of the Rubix Cube
Step 4 solves the middle layer of the Rubix Cube
Step 5-8 solves the last layer of the Rubix Cube
Content overview
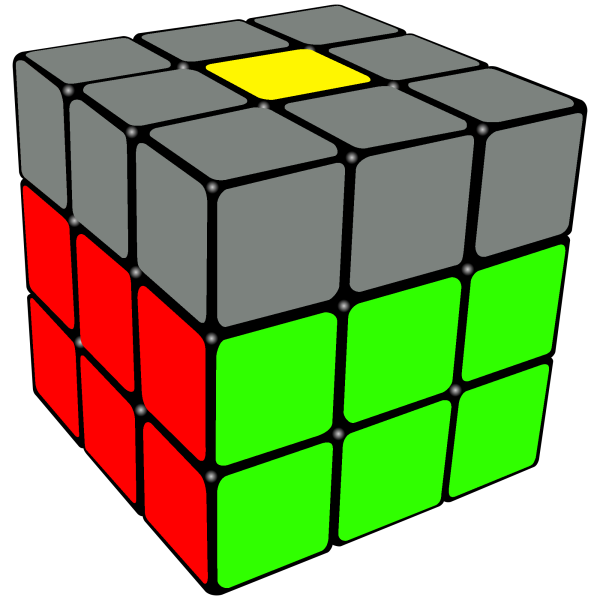
Step 1
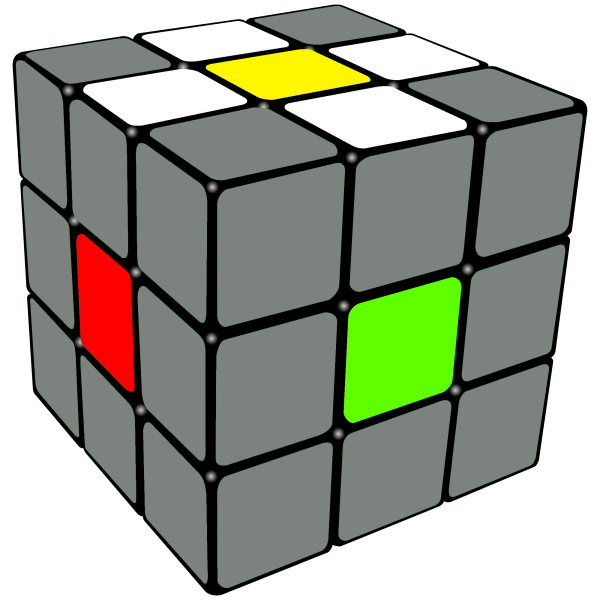
A 'flower' pattern - surround the yellow center with white edges
First, you will surround the yellow centers with the white edges. This will form what looks like a 'white lily'.
This is the pre-cross step.
Don't worry about the terminology if you can't understand them, I will explain them before we begin solving the Rubik's Cube.
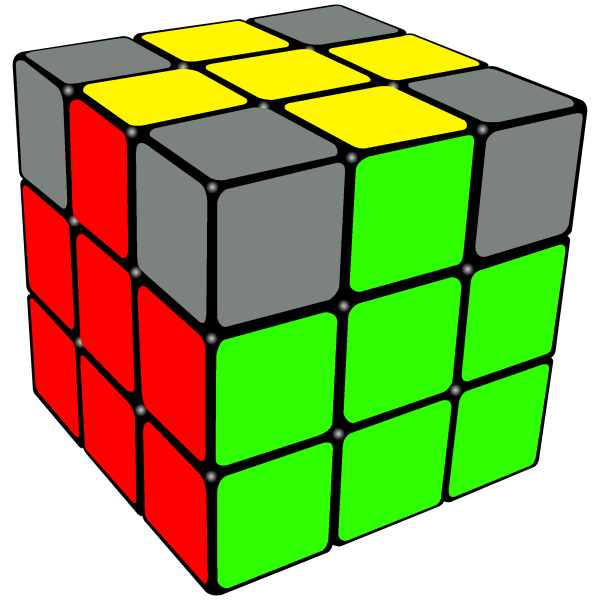
Step 2
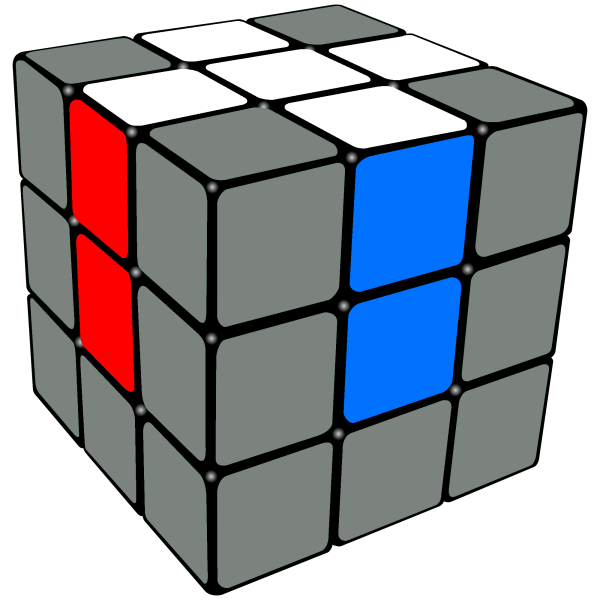
A white cross- white edges are connected to the white center, forming a cross. notice that the color at the side are matching as well
We will move the white edges so that they connect with the white center, forming a cross at the top of the Rubik's Cube.
Note that the side of the white cross have matching colors as well.
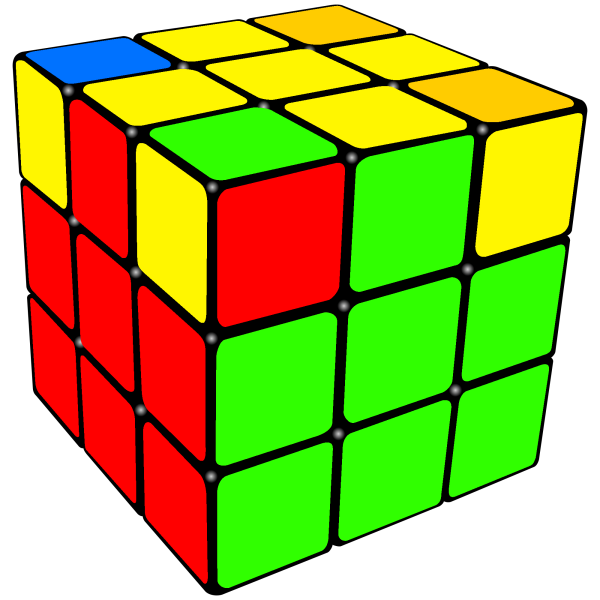
Step 3
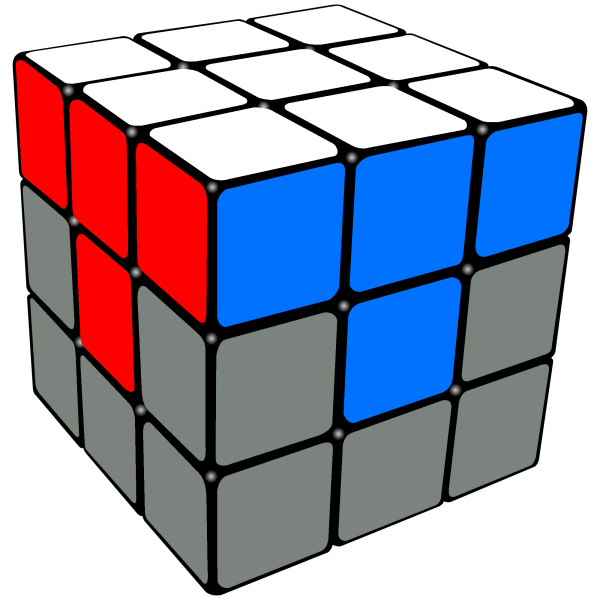
First layer done - corners have been inserted into the right place to form one layer of the Rubik's Cube
Insert corners into the right places to form the very first layer of the Rubik's Cube
note that the sides have a mini T on them
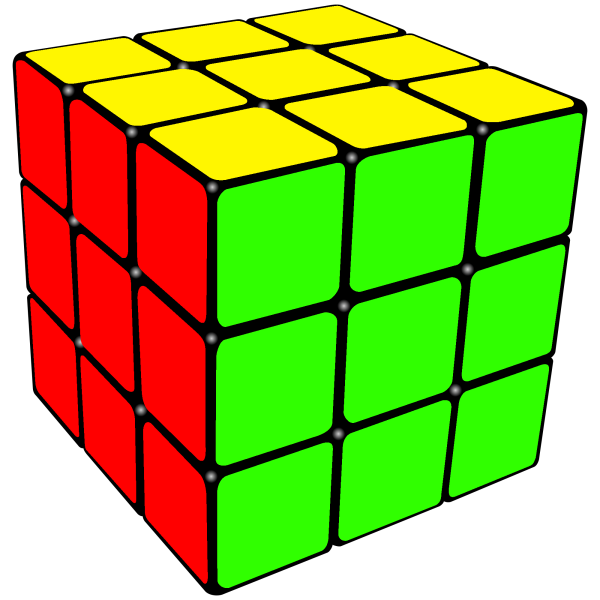
Step 4
2 layers have been completed
By putting the right edges into the middle layer, we would have completed two layers of the Rubik's Cube. One more layer to go!
Step 5

A yellow cross have been formed at the top of the Rubik's Cube
We will now flip edges to make a yellow cross at the top of the Rubik's Cube
So beautiful!
Step 6
The sides of the top layer cross are now done
We will move the top edges around to match them to the sides
Step 7
Last 4 corners in their correct place
Move the corners to the right places
Step 8
A solved Rubik's Cube